Freebee's Page

Our Freebee's 4 You.
I know that some of you will have seen some of these before, but they will be new to some of you as well.
~~~~~~~~~~~~~~~~~~~~~~~~~~~~~~~~~~~~~~~~~~~~~~~~~~~~~~~~~
To the best of our knowledge, these items are still free for you to use .We have used all of these sites, tools and Tips below, so know that they are worth having a look at. I know that they will save you much time and effort in building a top Model Train Layout.
~~~~~~~~~~~~~~~~~~~~~~~~~~~~~~~~~~~~~~~~~~~~~~~~~~~~~~~~~

This Free PDF file, Precision in Miniature, is a free Article on The Art of N-Scale Architectural Modelling.
~~~~~~~~~~~~~~~~~~~~~~~~~~~~~~~~~~~~~~~~~~~~~~~~~~~~~~~~~~
N Scale Track Plans.
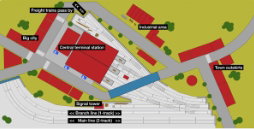
@ track-plans.net/n-scale/ A good track plan makes the model railroader happy. But a bad track plan leads to hell. Unfortunately, some model railroaders find it difficult to create a good track plan. They can not find an idea, or they get stuck, and the project comes to a standstill. May www.track-plans.net help a little bit to prevent you from visiting a nasty place!
______________________________________________________________
N Scale Printable Buildings.
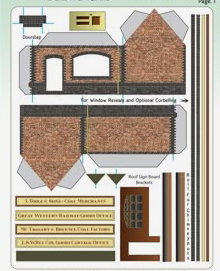
karlovoinfo.com/post/free-n-gauge-printable-buildings and Railroad structures from KraftTrains: Instantly download these files and print them on your own printer. You can print as many buildings as you want and mount them on any surface you choose. Just set your printer to actual size and the highest quality setting.
______________________________________________________________
N Scale Railroad 3D Printing Files.
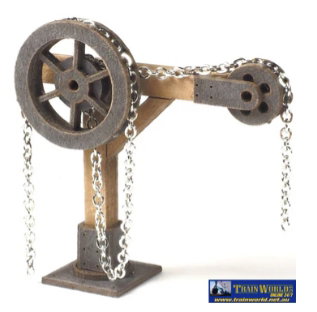
The 3D printing files KraftTrains.com are providing are made by third-party open sources from people like Thingiverse.com . I'm asking anyone who uses these files to please give a coffee tip to our third-party 3D model designers so we can maintain this service for the railroading community.
______________________________________________________________
OpsBuddy.
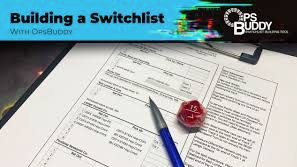
A free, Google Sheets-based tool designed for model railroad operations, specifically for generating switch lists on layouts or shelf layouts. You can find it here: Click the blue "Use Template" button at the 'Top Right' to save it for yourself.
NOTE: Use this as your template only and change a copy to suit your layout.
Here is a breakdown of what OpsBuddy is:
Purpose: Developed by Matt Forcum, this tool helps modellers manage traffic and industrial switching on layouts where complex, traditional software might be overkill.
Functionality: It creates, manages, and prints switch lists, which dictate which rail cars need to be moved to which industries by a dice roll.
Features: It allows for "controlled randomness," ensuring that operating sessions are varied but still make logical sense for the layout.
Implementation: It runs in Google Sheets, allowing users to define industries, yards, tracks, and destinations.
Cost: It is generally available as a free, template-based tool.
[ You will need MS Office or the free www.openoffice.org/download/Open Office to use it.] It works well, it has good instructions at the bottom of the template, PLEASE READ THEM!
______________________________________________________________
SCARM Computerized Railroad Designer. @ www.scarm.info
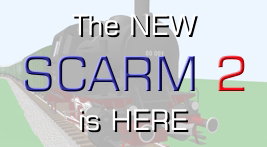
SCARM (Simple Computer Aided Railway Modeler) is free software for designing model train layouts, available for download at www.scarm.info/index.php.
The free version allows full 2D/3D design functionality with a limit of 100 track/scenery items per layout file. It supports numerous track libraries and includes a 3D viewer.
______________________________________________________________
Woodland Scenics Scale Converter.
Instant scale conversion tool for any modelling scale. Fast, easy and efficient scale model conversion. Quickly convert U.S. Customary and Metric measurements into any scale. Perfect for all scale modellers.
Find it here.
______________________________________________________________
Railway Texture Sheets.
modelbrickyard.com/ ~ Brick paper.
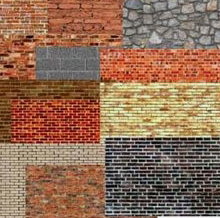
trimsheets.com/all_assets ~ Trims and Assorted Sheets.
unsplash.com/s/photos/wood-wall ~ Wooden Walls.
Resizing a Texture Sheet for Printing to N Scale. In this example, we are using a texture sheet of rusted roofing iron, but this applies to most N Scale print jobs and printers.
Printing a rusted iron texture sheet for N scale (1:160) on an ink-jet printer requires, first, obtaining a high-resolution, seamless image, and then using precise printer settings to ensure the output scale is accurate and the texture remains crisp.
1. Preparing the Texture Image.
Find a High-Res Image: Search for "seamless rusted iron texture" or "rusted metal texture 300 DPI." High-resolution images are necessary to avoid a pixelated, "blurry" look when printed. Image Dimensions: For N Scale, the texture needs to be very fine. The ideal resolution is at least 300 DPI, though 600 DPI is better for fine detail. Size Correction: If the image is not already sized correctly, import it into a photo editor (like Photoshop, Paint.net, or GIMP) and resize it so that a standard 10ft x 4ft (3m x 1.2m) corrugated sheet measures approximately 19mm x 7.5mm in N Scale. (paperbrick.co.uk)
2. Printer Settings.
Load Quality Paper: Use Matte Photo Paper or heavy presentation paper (120-200gsm). Standard printer paper will bleed, leading to poor, fuzzy results. Open Print Dialogue: Select your printer and go to Properties/Settings. Quality Setting: Set print quality to "Best" or "High". Media Type: Choose "Your Printer Matte" or "Premium Presentation Paper Matte". Disable "Fit to Page": Critically, choose "Actual Size" or set Scaling to 100%.Colour Profile: Select "Vivid" or "High Contrast" to bring out the rust colours. (paperbrick.co.uk)
3. Printing and Finishing.
Print a Test Sheet: Print on regular paper first to check the colour and scale before wasting photo paper.
Let it Dry: Ink-jet ink on photo paper takes time to set; allow it to dry for at least 15 minutes.
Seal the Print: Ink-jet prints are water-based. Spray the sheet with a Matte Clear Acrylic Lacquer or an inkjet fixative to protect the ink and remove any unwanted sheen.
4. Application Tips.
Cutting: Use a very sharp craft knife and a metal ruler for clean, precise edges.
Adhesion: Use a spray adhesive (like 3M Spray Mount) for a smooth, even application without warping.
Enhancement: To create realistic corrugated iron, you can glue the printed paper onto thin aluminium foil and run it through a corrugation tool. (available from model railway suppliers).
______________________________________________________________
PosteRazor.
PosteRazor is a free, open-source software tool that allows you to create custom model train backdrops by cutting a large photograph into smaller, overlapping "tiles" (A4 or Letter size) that can be printed on a standard home printer and assembled. This process is popular among model railroaders looking to create affordable, custom panoramic backgrounds. Download and execute the Windows installer https://prdownloads.sourceforge.net/posterazor/PosteRazor-1.5.2-Win32-Installer.exe?download , An uninstaller is integrated.
How to Create a Backdrop with PosteRazor
Prepare the Image: Start with a high-resolution photograph of a landscape (mountains, trees, cityscapes). You can use your own photos, buy digital images from websites like Textures.com, or use panoramas.
Edit the Image (Optional): Use photo software like Photoshop or GIMP to remove unwanted objects (roads, people) or adjust the sky to match your layout.
Create Tiles with PosteRazor: Load your image into PosteRazor. Set your printer paper size (e.g., A4 or Letter). Define the desired final size of the poster. Set an overlap size (important for aligning the sheets later). PosteRazor will generate a multi-page PDF document.
Print and Assemble: Print the PDF, trim the white margins, and use a glue stick or spray adhesive (like 3M Spray Mount) to mount the tiles onto your backing material, such as Masonite, foam-core, or directly onto the wall.
Tips for Realistic Backdrops: Mount your print on smooth surfaces like Masonite, hardboard, or foam-core to avoid texture showing through.
Aligning the Images: When placing the sheets, overlap them carefully to match scenery features (like a tree line or horizon) for a seamless look.
Blending Sky: If the sky in the photo doesn't match your layout's existing sky, you can paint the top portion of the backdrop to blend the two together.
Note: For very long layouts, consider creating panoramic scenes in sections and using a commercial printing service for higher quality, rather than printing dozens of home pages.
Protect the Print: Spray the finished backdrop with a clear matte enamel to protect the ink from fading or moisture.
______________________________________________________________
Train Crew.
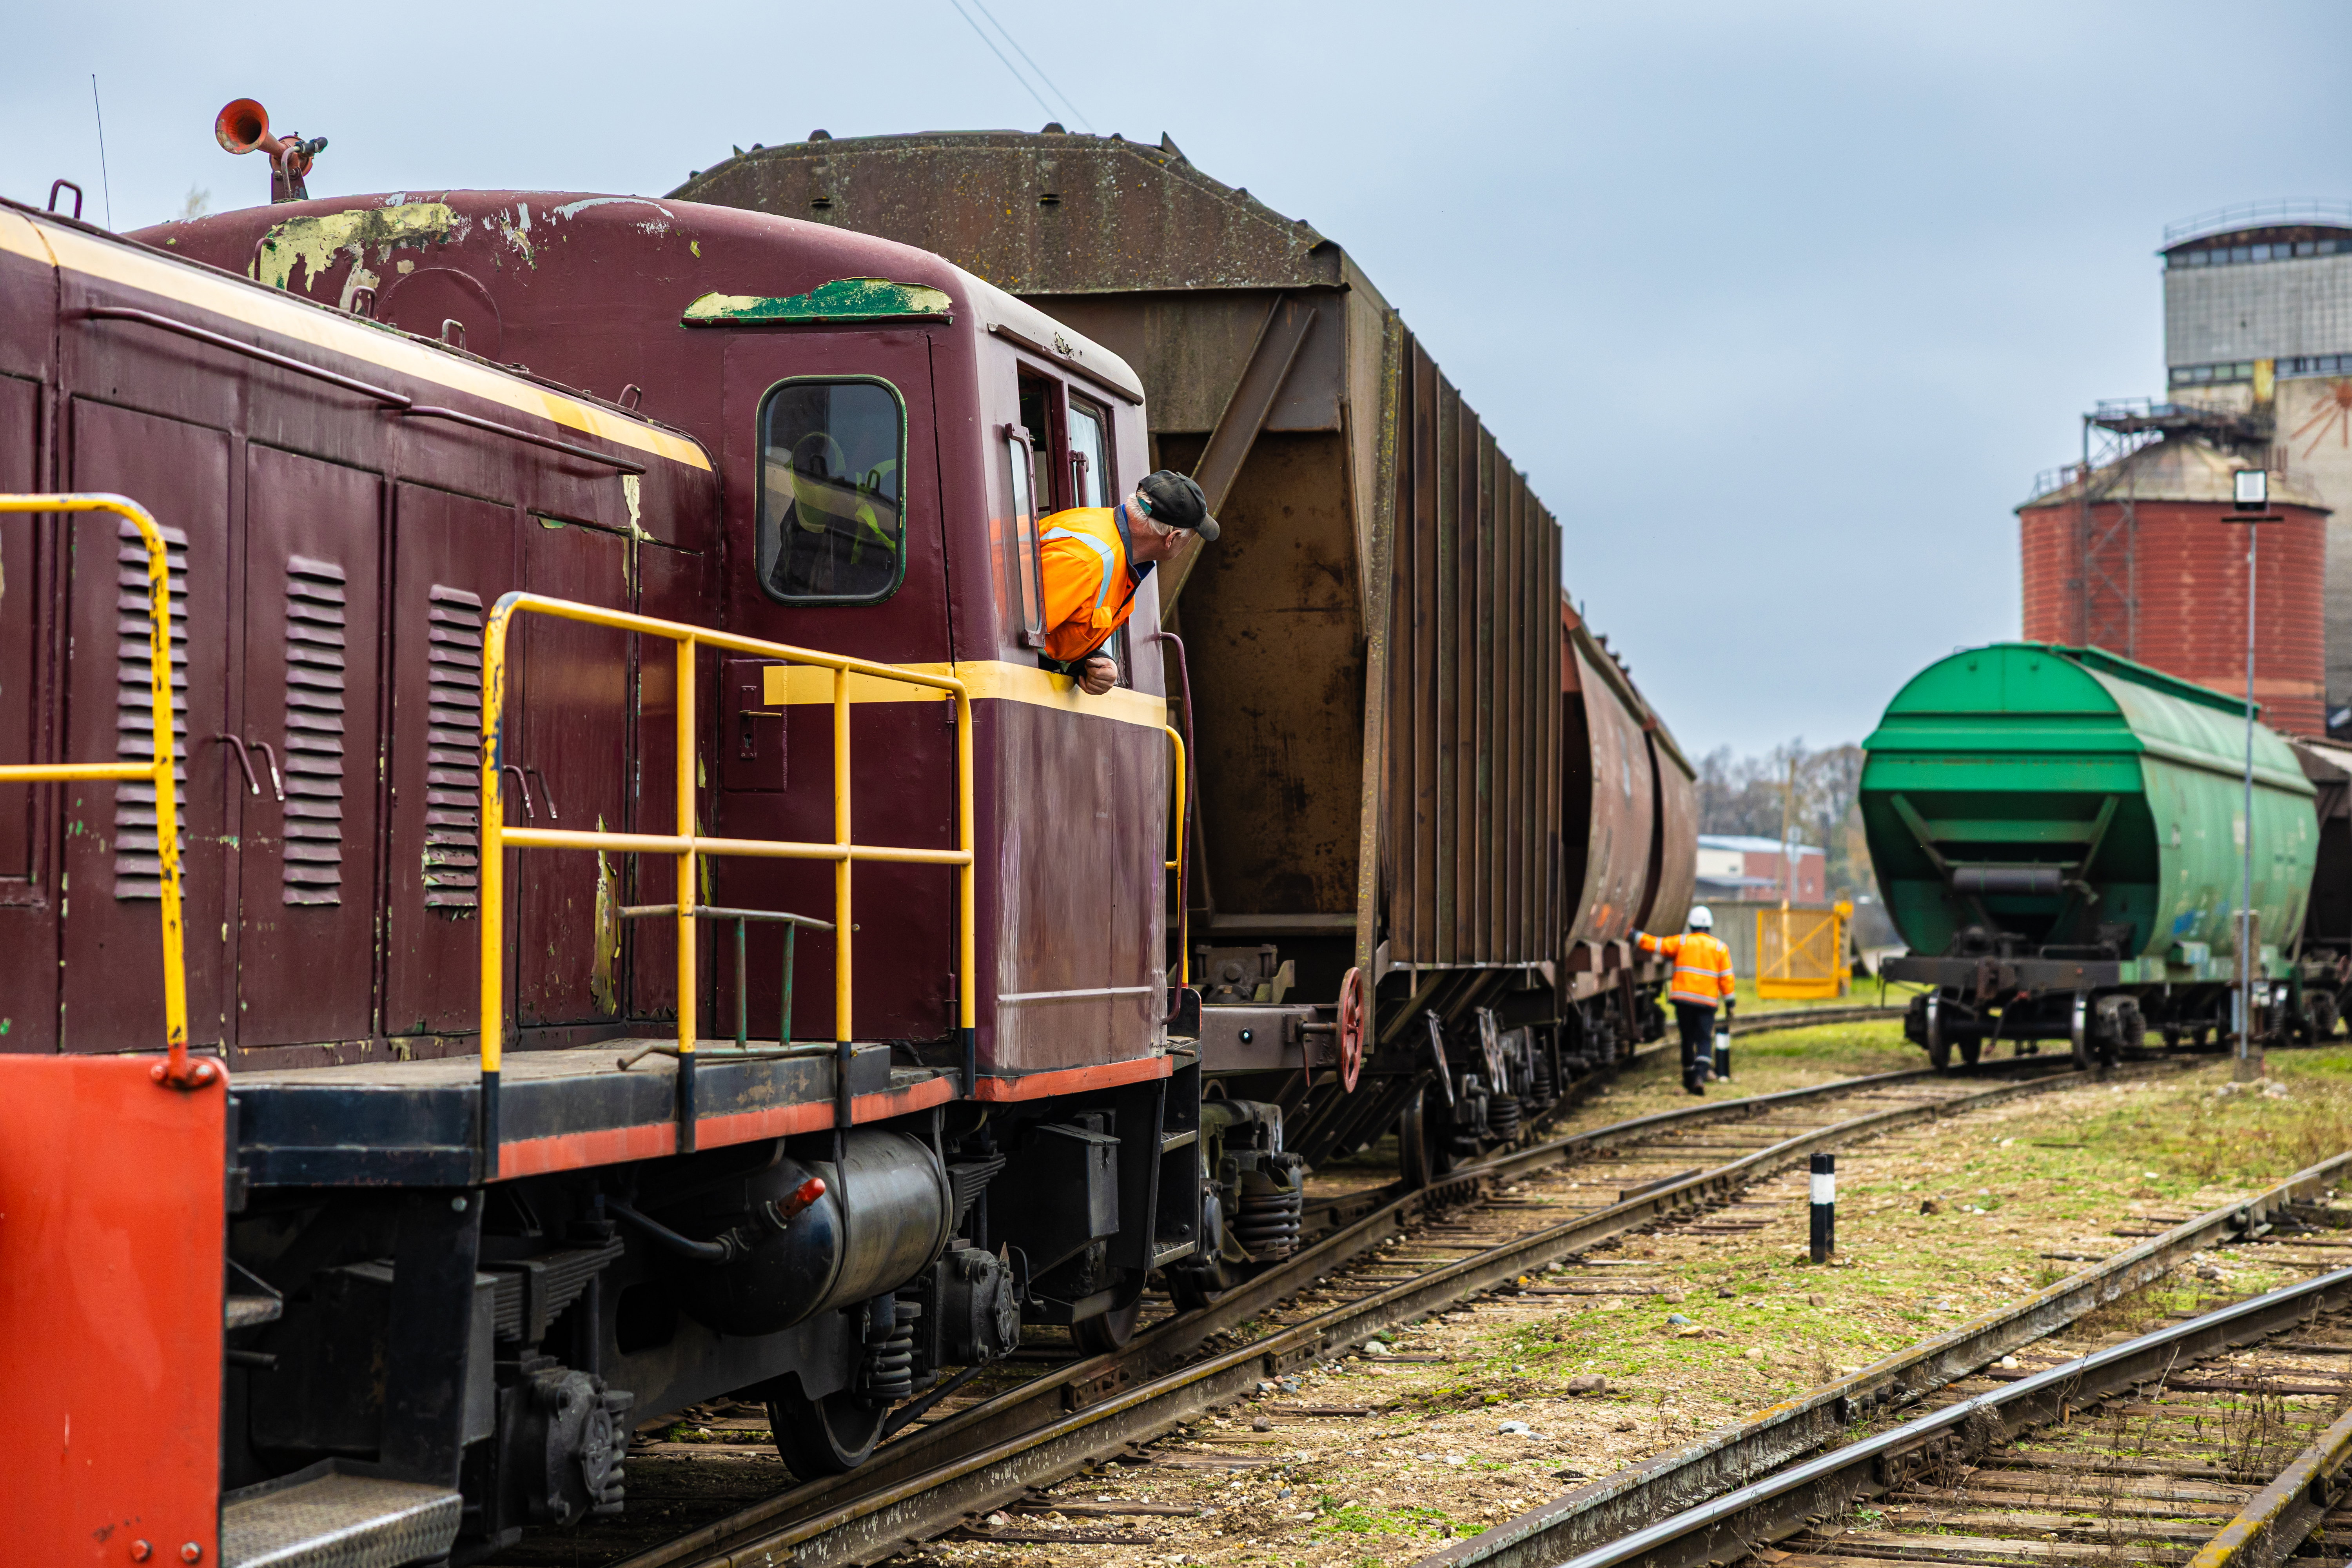
Train Crew App. traincrew. There's more to railroading than the throttle. Replicate more of the experience with these tools.
To use these tools, simply visit the website linked here and place it in your favorite's/Desktop, or on whichever device you wish to use [computer, smartphone, tablet, etc.]. This site will generally be up to date with the latest version of the app and the features that the owner (Ed) finds useful for his ops session.
NOTE: Use a copy for each Driver/Guard. or dogsbody who does all the work.
______________________________________________________________
JMRI. @ www.jmri.org/
Is an open-source suite of tools designed to help hobbyists control their model railroad layouts using a computer. It acts as a bridge between the computer and the layout's hardware (like DCC systems), allowing for control of trains, turnouts, lights, and signals. It is frequently used for automation and to enhance the functionality of a model railroad beyond simple manual control.
~~~~~~~~~~~~~~~~~~~~~~~~~~~~~~~~~~~~~~~~~~~~~~~~~~~~~~~~
Well, that's all for now. Will there be more to come? Maybe you need to come back sometime to see, and you never, never know if you never, never Go Comeback. [ My comiz to the Aussie TV add ] Jeff.
~~~~~~~~~~~~~~~~~~~~~~~~~~~~~~~~~~~~~~~~~~~~~~~~~~~~~~~~