4th/apr/2026. So, I've had this hot idea.
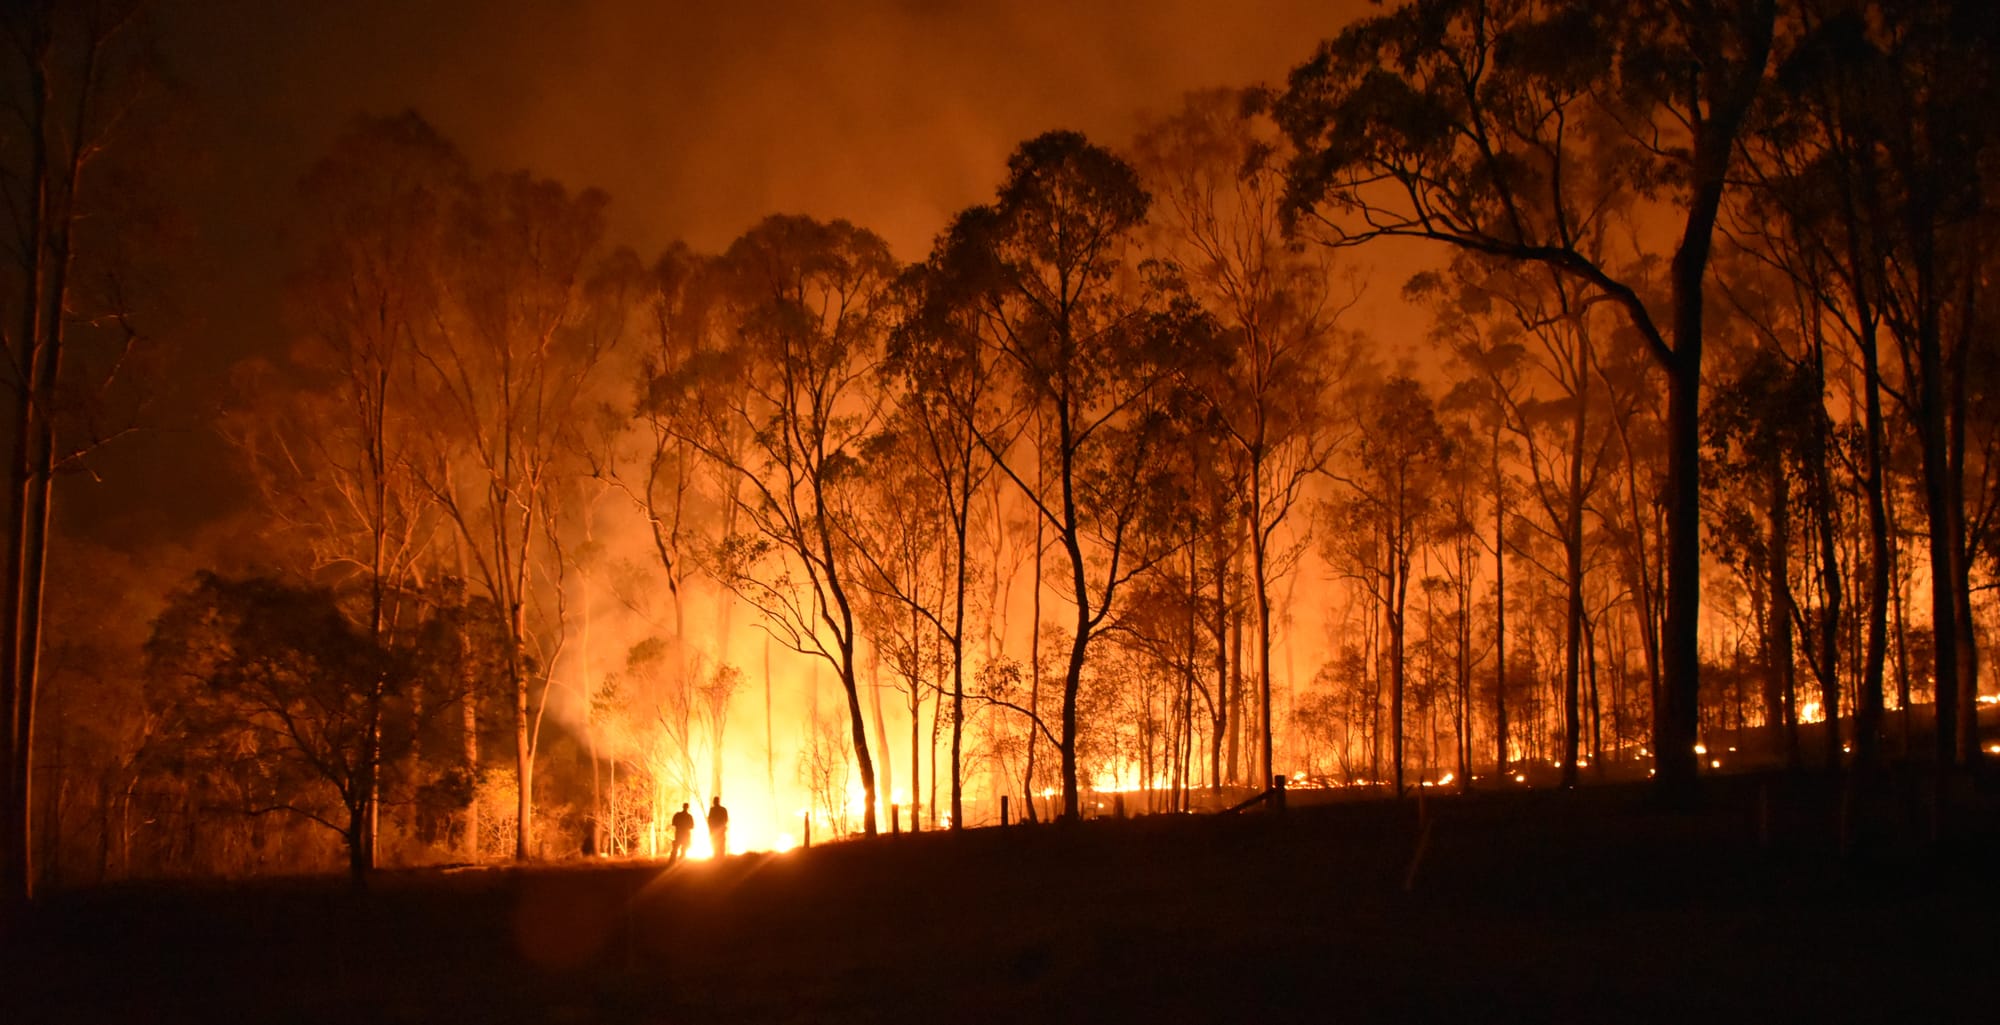
I have had this idea for a bush fire on my N-scale train layout, to be on the ridge I have there at the back of the layout, using an eVape component to make the smoke.
Adding a dynamic element like smoke to a ridge-top bushfire can take my layout from a static scene to a real showstopper. N-scale is tiny, though, so the biggest challenge will be managing the "scale" of the smoke and keeping the electronics hidden.
Using an e-vape (electronic cigarette/vape component) will be good because it produces thick, white vapor that looks remarkably like heavy smoke.
Here is a breakdown of how to rig this up safely and effectively:
1. The core components: To make this work without holding a button manually, I’ll need to strip the vape down to its atomizer (heating coil).
The Vape Unit: I’ll need a basic "cartomizer" or a replacement coil head.
The Fluid: Use high-VG (Vegetable Glycerin) juice with zero nicotine, or check out a site online called megastream.com . NOTE: I don't want to be breathing in stimulants while I'm running the trains!
Power Supply: Most vape coils run on 3.7V to 5V. A dedicated power pack converter or an old phone charger works well. Do not plug a coil directly into a track power or a high-voltage transformer.
2. The Plumbing (The "Smoke Stack"): Since the vape unit, itself is bulky for N-scale, I’ll want to mount it under the layout and "pipe" the smoke up to the ridge.
The Reservoir: I will need to mount the vape reservoir tank vertically under the scenery, but make sure that I can still get to it to top it up.
The Airflow: I will need a small 5V or 12V DC blower fan (like those used in 3D printers). Seal the fan's output to the air intake of the vape. This pushes the vapor up the tube.
The Tube: I will use flexible tubing or aquarium airline and run this up through a hole in the ridge.
3. Scenic Integration: This is where the magic happens. I don't want a "volcano" effect; I want a "line" of fire.
The Diffuser: At the top of the tube, under the "burnt" trees, I will need to create a small manifold (a tube with multiple tiny holes) or use a piece of sponge to break up the airflow. This will make the smoke drift up across a wider area rather than in one localized stream.
The "Glow": I’ll hide flickering orange and red, orange and blue LEDs inside the "burnt" area of the ridge. Use Insulation filter (stuffing) painted charcoal grey to represent thick smoke clouds; the vapor will drift through the Insulation filter, catching the orange and red, orange and blue light from the LEDs.
4. Safety Considerations Heat Management: Vape coils get very hot (200°C or more). I will need to ensure the heating element isn't touching foam or plastic scenery. I’ll need to mount the atomizer on a metal or heat-resistant bracket.
Condensation: Vapour is moisture. Over time, it will leave a slight oily residue (glycerin) on leaves, rail lines and buildings in the scenery. I will be trying hard to keep the "fire" away from rail lines so to prevent traction issues, and I will need to wipe down nearby trees occasionally.
Note: Thinking about it I have a significant area on the ridge of 50 cm by 9 cm. A 50 cm "fire line" is quite long, and a single tube will likely result in a "chimney" effect—where I will get a thick plume in one spot and nothing elsewhere.
To get that low, lingering "bushfire front" look across half a meter, I'll want to use a manifold system.
The "Drift" Manifold Strategy: Instead of one open pipe, I need to distribute the pressure. Here is how to build the delivery system:
The Main Header: Run a 10mm PVC pipe or a stiff plastic tube along the underside of the ridge for the full 50 cm. Cap the far end so air is forced out of the sides.
The "Vents": Drill tiny holes (approx. 1mm to 2mm) every 5 cm along that pipe.
The Diffusion Layer: On top of the ridge, cover the vent holes with a "filter" of loose black or dark grey Insulation filter (quilt batting). This will break up the localized jets of vapor and turns them into a soft, creeping mist that rolls over the terrain.
Balancing the Flow: With a 50 cm run, the vapour might all escape out of the first few holes before reaching the end. I can fix this with two tricks.
1. Connect the vape hose to the middle of the 50 cm pipe rather than one end. This halves the distance the smoke has to travel.
2. Graduated Holes: Drill the holes slightly smaller near the intake and slightly larger toward the far ends to equalise the pressure.
The Lighting: For a 50 cm x 10 cm area, a single LED won't cut it. I want to create a "moving" fire line.
The "Hot" Zone: I’ll need to use a strip of Orange/Yellow SMD LEDs (Surface Mount) tucked into a shallow trench along the 50 cm line.
The Random Flicker: I can use a cheap "Flicker Circuit" or an Arduino to pulse different sections of the strip independently. If the whole 50 cm blinks at the same time, it will look like a strobe light; if they pulse randomly, it looks like shifting embers.
Note: The Fog: Since I'm covering a large area, the vapor will eventually settle in the "Village" of my layout. Because N-scale is so small, a 50 cm fire will produce a lot of vapor relative to the room size.
Pro Tip:
I will use a "Push-Pull" method. I need to use a small computer fan under the layout. I'll use it to create a very slight cross-breeze that clears the "smoke" away from the main station or Village areas so it doesn't obscure the rest of my hard work!
Since I'm working with a foam-on-plywood base on the ridge, I actually have a great setup for this. Foam is easy to carve, but it acts like an insulator (trapping heat), and it can be noisy if fans are mounted directly to it.
Here is what I will need to do so that the 50 cm manifold fits into my specific terrain:
1. Trenching the Foam: I don’t want to see the "plumbing," so I’ll need to create a "smoke gallery" inside the foam.
The Main Trench:
- I’ll use a hot wire cutter or a hobby knife to carve a U-shaped channel about 3 cm deep along the 50 cm ridge line.
- The "Floor": Line the bottom of this trench with aluminum foil. This protects the foam from any residual heat and helps reflect the light from the LEDs upward.
- The Feed Hole: I need to drill a single 15 mm hole through the 2 cm plywood at the midpoint of the ridge. This is where the vape hose will come up from the "engine room" below.
- Installing the Manifold: Because the foam is 50 cm long, I’ll use a 1/2-inch plastic pipe (the white or grey stuff from a hardware store).
- I will drill a row of 2 mm "smoke holes" along the top of the pipe.
Lay the pipe into the trench. - The LED Trick: I’ll lay the blue/orange/yellow LED strip directly next to it. When the smoke exits the holes, it is immediately illuminated at the source, making the "base" of the smoke look like glowing coals.
- Masking the Ridge: To make it look like a forest floor rather than a plastic pipe in a trench, I’ll cover the trench with fine wire mesh (like window screen material), then lightly sprinkle "burnt" flocking—coarse black turf, charred twigs (actual small twigs burnt with a lighter), and ash-colored powders.
The smoke will filter through the mesh and Insulation filter, creating a wide, creeping "front" rather than jets.
Mounting the "Engine" (Under the Plywood): - I can't mount the vape and fan directly to the plywood, or it will act like a sounding board and hum loudly.
The Vibration Dampener:- I will need to mount the vape unit and the blower fan onto a small piece of scrap wood, then hang that scrap wood from the plywood using rubber bands or foam mounting tape.
The Drip Loop:- I’ll need to ensure the tubing from the vape has a slight "U" bend before it goes up through the plywood. Glycerin condensation (the "juice") will collect at the bottom of the U instead of running back into the fan or up onto the scenery.
Wiring Logic: - I will be using a PC power pack for power:
I will be using a simple toggle switch on the control panel to turn it on and off.
Note:- Remember that vapes take a second or two to get hot. If I use an Arduino, I can program it so that when I flip the switch, the heater starts first, and the fan kicks in 2 seconds later for "instant" smoke.
A quick safety check: Since foam is flammable, make sure the vape coil is housed in a "smoke chamber" (like a small glass jar or metal box) under the layout, and only the relatively cool vapor travels through the plastic pipe in the foam. Because I'm working with 50 cm of foam and plywood, there are two final "pro-tips" that will save me a massive headache down the road: - 1. The "Drainage" Port:
- Over time, the vapor (Vegetable Glycerin) will condense back into a liquid inside the 50 cm manifold pipe. If it stays there, it will eventually gurgle like a straw or clog the small smoke holes.
The Tilt: I must remember to mount the horizontal manifold pipe at a very slight angle (just a few degrees).
The Collection Point: At the lowest end of the pipe, attach a small "drain line" (a piece of airline tubing) that runs back down through the plywood into a small pill bottle or jar. This will keep the scenery dry and the smoke consistent. This needs to be close to the edge of the layout so I can empty it.
The "Chimney" Chamber (Underneath): - To get the best volume of smoke for a 50 cm run, I'll need to create a small "pressure chamber" between the vape and the manifold.
Instead of running a tiny hose from the vape all the way to the ridge, I’ll mount the vape inside a small, airtight plastic container (like a Tupperware or a small project box). The fan blows into this box, and the manifold pipe pulls out of it; these will need to be sealed well.
This allows the vapour to "bulk up" before being pushed out, ensuring that even the holes 50 cm away get a good, thick plume.
Final Component Checklist:- VG Juice - The "fuel" (keep it nicotine-free for safety).
- 12V Blower Fan - Look for "5015 Blower Fan" —they have more "push" than standard computer fans.
- PWM Speed Controller - A $5 dial that lets me slow the fan down so the smoke "drifts" instead of "blasts."
- Aquarium Filter Sponge-Crucial for turning "jets" of vapour into a realistic, low-hanging fog.
One last bit of wit for the road: Just a reminder to myself that while the fire looks great, my N-scale residents might appreciate a tiny "Rural Fire Service" truck parked at the base of the ridge with a few volunteer firefighters working to keep things under control! I cannot wait to get into this project, but I will have to set it up as one of the last major projects after most of the scenery has been finished.
NOTE: I don't mind if you copy & paste the above, but a mention of my name would be good (c).
Whisper to you next Saturday. Bye Cobber.