Top 10 Layout History and Documentation Ideas to Tell the Story of My Railroad.
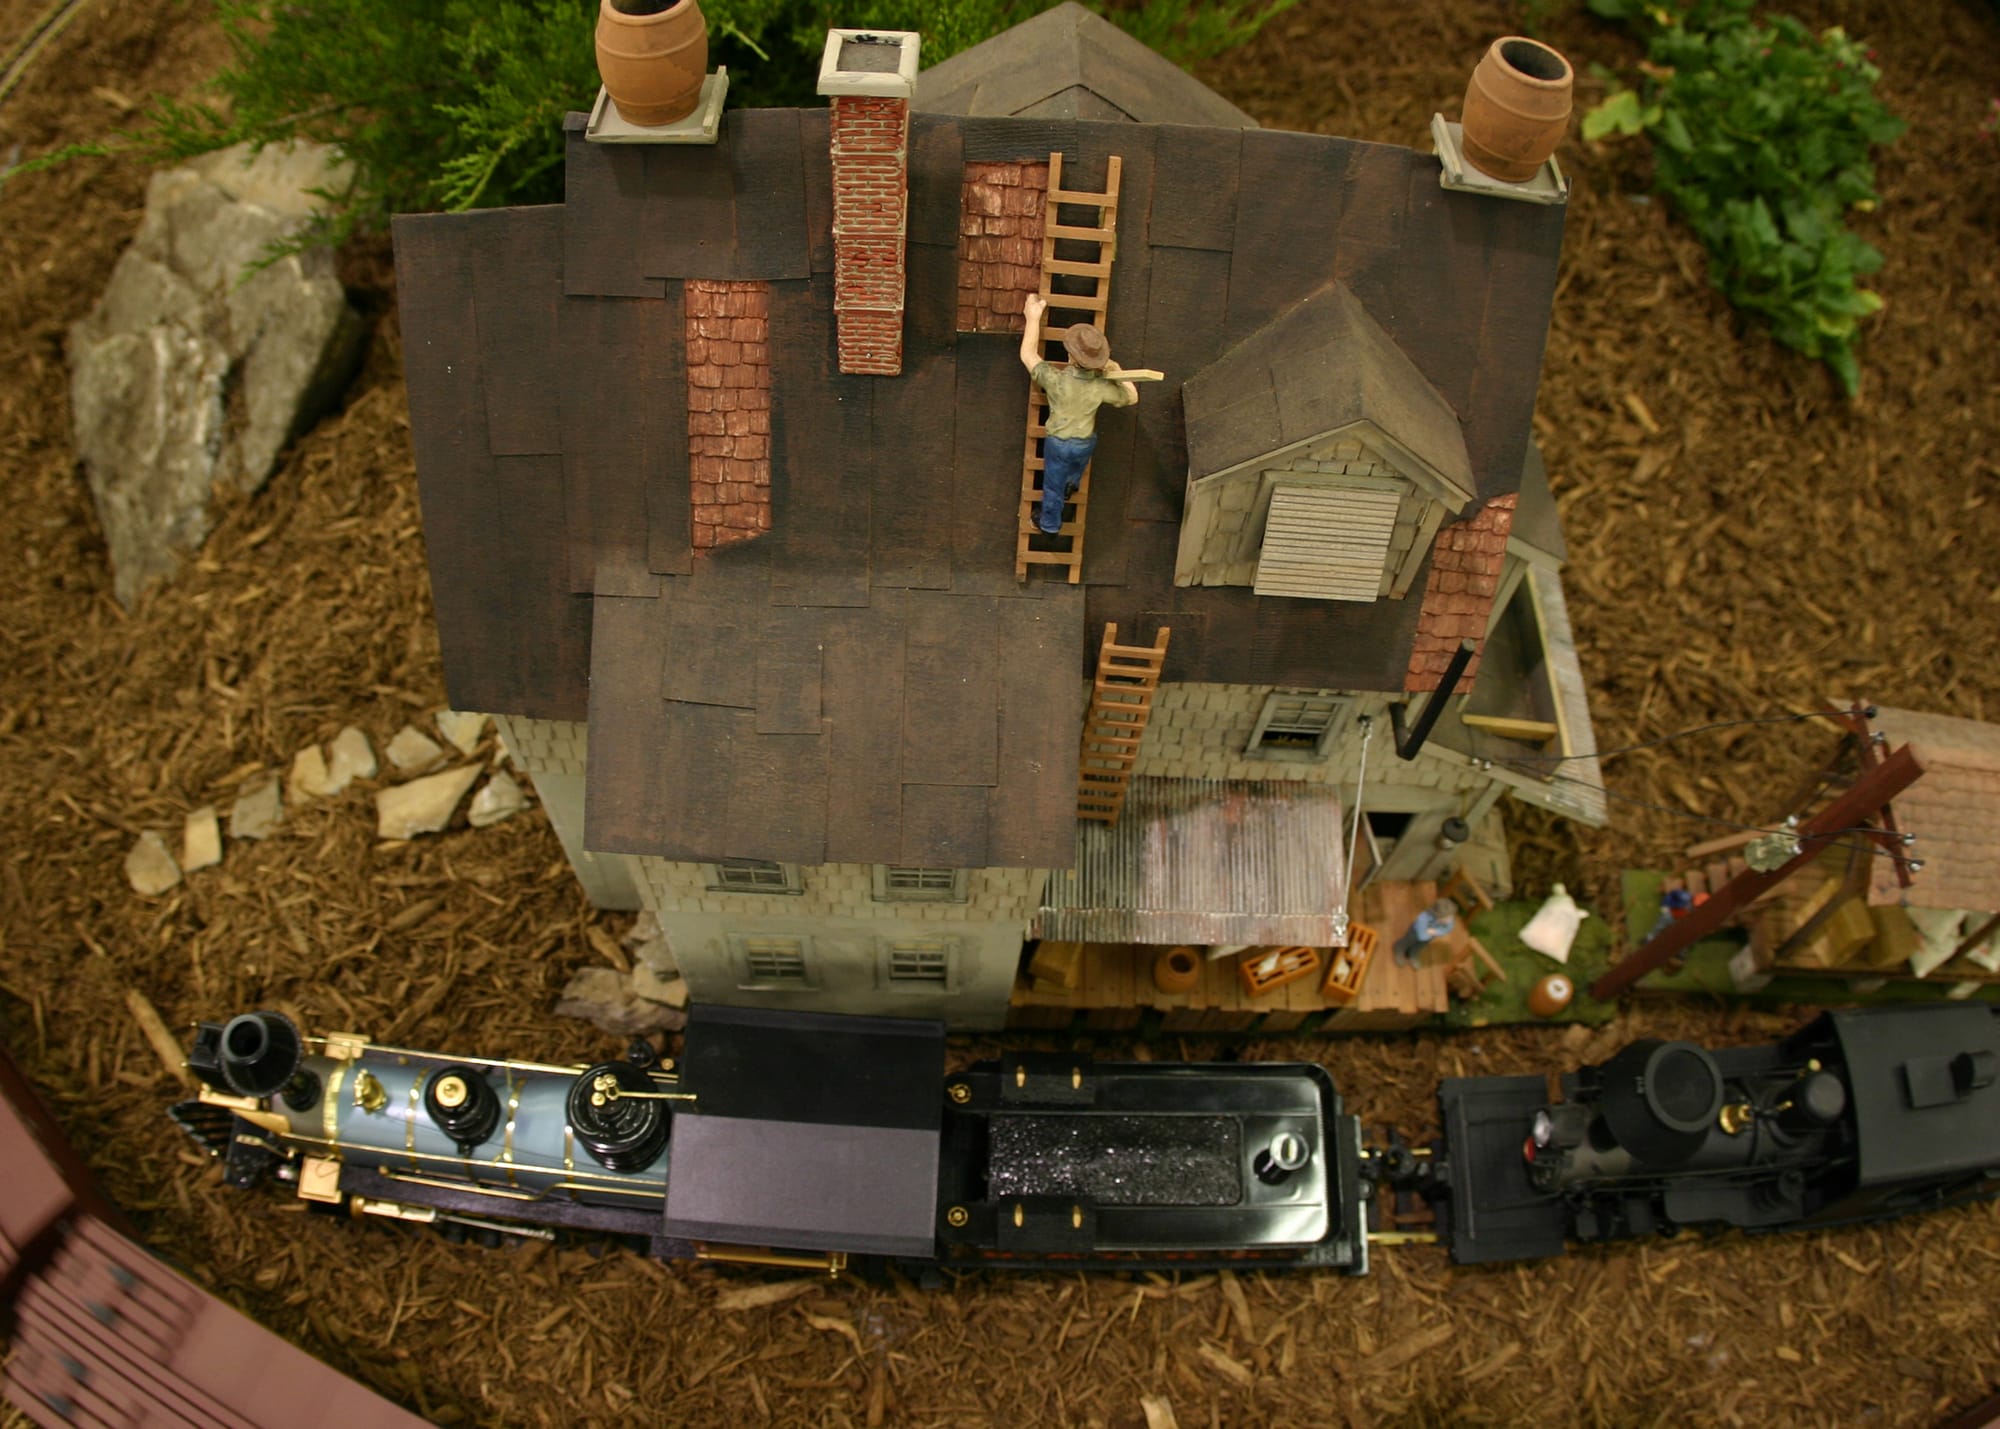
Mountain and Valley N Scale Railroad is built on the same idea that makes the hobby so satisfying, the story matters as much as the trains. Layout history and documentation turn a collection of benchwork, track, wiring, and scenery into a believable railroad with a past, a purpose, and a clear sense of place. The best part is that you do not need to be a writer or a photographer to do it well. You just need a plan, a few consistent habits, and a way to capture decisions while they are still fresh.
This article gives ten practical, proven ideas for documenting an N scale railroad from the earliest sketches to the latest operating session. Each idea is framed as a tip you can start today, whether you are building a new mountain and valley themed line, expanding an existing room, or restoring a layout from years ago. Use one idea or combine all ten to create a rich historical record that is useful for you and engaging for anyone who visits your railroad in person or online.
Top 10 Layout History and Documentation Ideas to Tell the Story of Your Railroad
1. Write an origin story and define your railroad’s “why”
Every railroad, real or modeled, has a reason to exist. Your first documentation task is to capture that reason in writing. An origin story becomes the anchor that keeps future decisions consistent, from motive power to scenery choices. It also prevents the layout from drifting into a random assortment of cool models that do not quite fit together.
Start with a simple one page narrative. Include where the railroad is located, what it hauls, and why the line was built. If your theme is mountain and valley railroading, explain what industries live in the valley, what resources come out of the mountains, and how the railroad connects the two. Decide whether your railroad is a mainline bridge route, a branch line, a logging line, a short line, or an interchange focused railroad. Define the era in plain language, such as “late 1950s Appalachian coal and lumber” or “modern era mountain pass container route.”
Then add a few deliberate constraints. Constraints create coherence and they make planning easier. For example, you might decide the railroad is cash strapped, so structures look weathered and track is lightly maintained. Or you might decide it is a premium bridge line, so everything is well kept, with heavy rail, CTC, and modern power. Those decisions make your later photos and notes feel like real history instead of a build log.
- Write a short “charter” paragraph that answers: where, when, who owns it, why it exists.
- List five signature commodities, such as coal, lumber, pulpwood, aggregates, grain, intermodal, or petroleum.
- Define your interchange partners and where they connect to your modeled world.
- Declare what you are not modeling, such as no passenger service, no steam, or no unit trains.
- Save this document as version 1.0, and keep a change log when you revise it.
2. Build a timeline that ties layout scenes to “railroad history” events
A timeline turns a static layout into a living place. You can create the feeling that towns grew, industries boomed, branch lines were abandoned, and motive power changed. Timelines also help you justify why certain structures or track arrangements exist, even if they are there for operational reasons.
Make two timelines. The first is your fictional or prototype inspired railroad timeline. The second is your real world layout construction timeline. The magic happens when you cross reference them. You can even treat layout changes, like adding a siding, as “railroad capital projects” in your fictional history. That keeps your layout story consistent even as your skills improve and you rebuild sections.
Your railroad timeline can be as short or as detailed as you want. A simple approach is to create one major event per year for a decade, then zoom in on the years you model. If you model 1998, write what happened in 1990, 1993, 1995, 1997, and 1998. Include reasons for changes, such as a new mine, a mill closure, trackage rights, or a flood that forced a relocation.
- Create a “key dates” list: founding, first interchange, major expansion, dieselization, merger, modernization.
- Attach each key date to a physical scene, like a new bridge, a relocated highway, or an abandoned spur.
- Keep a second timeline of your actual build milestones: benchwork, track, wiring, scenery, operations start date.
- When you revise track, record it as both a build note and a “railroad project” note.
- Use a simple table so you can scan it quickly before an operating session.
3. Create a map set, master schematic, track charts, and scene maps
Documentation becomes dramatically more useful when it is visual. Real railroads live on paper, with employee timetables, track charts, subdivision maps, and signal diagrams. Your layout can have the same kind of documentation at an N scale friendly level. A map set also makes your layout more welcoming for guests, because they can understand where they are and how trains move.
At minimum, maintain a master schematic that shows all track, turnout numbers, yard names, staging, and mainline direction. Then create scene maps for each town or key location. Scene maps should show industry spots, switchback directions if any, and where a crew can stand. If you use DCC, add a power district map and breaker locations.
If you enjoy detail, go one step further with track charts. A track chart is a linear diagram of a line segment that calls out grade changes, curves, bridges, tunnels, and mileposts. On a mountain and valley railroad this is especially powerful because it documents why trains need helpers, why speed is restricted, and where photo lines should be placed for the best scenic views.
- Master schematic: simple, readable, one page if possible.
- Town switch maps: show each industry, track lengths, and typical car spots.
- Signal and control map, if you have detection, signals, or a dispatcher panel.
- Electrical map: boosters, circuit breakers, reversers, bus routing, and decoder addresses for accessories.
- Scenery map: mountain ridge lines, valley watercourses, roads, and view blocks.
4. Keep a decision log, capture the “why” behind major choices
Photos show what you built, but they do not always capture why you built it that way. A decision log is the missing piece that turns documentation into a tool. It prevents repeated mistakes, makes troubleshooting easier, and helps you replicate techniques in other areas. It also becomes a story in its own right, because it shows the evolution of your railroad and your craftsmanship.
Use a simple structure: date, topic, decision, reason, and follow up. Examples include choosing a turnout size, selecting a minimum curve radius, using a specific roadbed, choosing a color palette for rock strata, or deciding how you will handle concealed track. In DCC terms, record why you picked a command station, how you standardized decoder CV settings, and how you created wiring harnesses for lift out sections.
A decision log also makes it much easier to share your methods publicly on a layout history site. Visitors love seeing not only the finished mountain scene, but also what tradeoffs you had to make to fit the story into the space.
- Record track geometry standards: radius, turnout types, clearance templates.
- Record scenery standards: ground foam blends, rock colors, tree types, static grass lengths.
- Record wiring standards: wire gauge, color coding, bus topology, connector types.
- Record operating standards: car card system, waybills, train lengths, helper rules.
- When you change your mind, log the reason and what you learned.
5. Do systematic photo documentation, progress shots, and repeatable viewpoints
Photos are the fastest way to capture layout history, but random photos become hard to use later. A better approach is systematic photography with repeatable viewpoints. Choose a set of camera positions and repeat them throughout the build. You end up with a time lapse like record of how your railroad grew, and those repeat shots are perfect for showing scenery transformations like carving a mountain, installing portals, and blending valleys into the backdrop.
Select a few “stations” for your camera. Mark them on the floor with small removable tape dots, or note them on a map. Include overall room shots, plus key scenes in the mountains and valley towns. Try to shoot in consistent lighting. Use a tripod or a stable support so framing is similar. These simple habits make your documentation look professional without special equipment.
Also plan specific photo sets: pre scenery, during scenery, and finished. For each scene, shoot wide, medium, and close. For wiring, shoot before fascia goes on, and again after labels are applied. For track, photograph every hidden area before it is covered. That last step saves countless hours when you need to find a feeder, a turnout motor, or a derailment cause later.
- Create a “monthly photo walk” routine, same viewpoints each month.
- Before covering anything, photograph hidden trackage and wiring with a clear overview shot.
- Use a simple file naming system: YYYY-MM-DD Scene Description.
- Keep an album for rolling stock and locomotives, with roster shots and decoder info.
- Take “operations photos” too, trains at work help tell the story of what your layout does.
6. Record short narration videos, build demonstrations, and operating session highlights
Video captures context that photos cannot, sound, motion, and your own explanations. A two minute clip explaining how a mountain grade works operationally can teach more than pages of text. If your site focuses on layout history, video is also the strongest way to preserve “how it felt” at different stages of the railroad.
Your videos do not need high production. Use a phone, a simple microphone if you have one, and good lighting. Keep clips short and focused. Make one video per milestone, like “first train runs,” “wiring the valley yard,” or “sculpting the main ridge.” Include a quick pan of the scene, then a brief narration of what changed, what you learned, and what comes next.
For operations, record highlights rather than whole sessions. Capture arrivals in the valley, helper operations on the mountain, meets at passing sidings, and switching at signature industries. If you use sound decoders, include a few moments of ambient audio, it becomes part of the layout’s historical record.
- Make a milestone video list: benchwork complete, track complete, first power, first scenery, first ops.
- Film one “tour” video per year, same route, same stations, so viewers can compare progress.
- Include captions or a written summary on your page for accessibility and quick scanning.
- Record troubleshooting solutions, like fixing a turnout, and save them as references.
- Back up raw video files, edited versions are not enough for long term history.
7. Document your roster and motive power story, assignments, numbering, and paint
A roster is more than a list of locomotives. It is a core part of the railroad’s identity. When you document your roster like a real railroad, with purchase dates, rebuild programs, and assignments, the whole layout feels more realistic. This also encourages you to keep motive power consistent with era, geography, and traffic. On a mountain and valley line, locomotive choice is a piece of the story because grades, tunnels, and curvature impose real limits.
Start with a roster page for each locomotive. Include road number, model, manufacturer, decoder type, speaker, lighting features, and any modifications. Add a short biography, even if it is fictional, such as “ex Class I unit acquired secondhand for helper service” or “new purchase for coal drags.” If you model a modern railroad, document PTC or ditch light standards in your story. If you model an older era, document why some units still have older paint or patched numbers.
Do the same for rolling stock, focusing on car types that appear often. Record fleet counts, weathering style, and the routing logic that brings them to your valley industries or through your mountain pass. If you use waybills, tie waybill destinations to your roster documentation so it all links together.
- Create a locomotive roster page with specs, decoder settings, and performance notes.
- Define paint schemes and eras, and record when repaints happened in your timeline.
- Write assignment rules: yard power, road power, helpers, locals, unit trains.
- Maintain a car fleet list by type and industry, so purchases support operations.
- Track maintenance history, like wheel cleaning routines and coupler standardization.
8. Tell the story of your industries, towns, and scenery, include research notes and “reason to be there”
Layout scenery is most convincing when it is tied to a reason. Mountains are not just scenery backdrops, they define drainage, roads, settlement patterns, and where industries can exist. Valleys are not just open space, they are where people live, farms operate, rivers run, and rail yards get built. Documenting the “reason to be there” for each scene creates a layout history that feels like a travelogue through a real region.
For each town, write a short profile. Include the town’s role on the railroad, population level, key employers, and what trains stop there. For each industry, write an “industry card” describing what it receives and ships, what car types it uses, how many spots it has, and any switching constraints. For scenery, maintain notes on geology and vegetation, especially if you model a specific region. Even if you freelance, pick a consistent geology story, such as layered sedimentary rock in the valley and harder granite outcrops on the ridge. Then match your rock castings, paints, and ground cover to that story.
Include research artifacts. These can be prototype photos, old maps, a screenshot of a topo line, or a color palette you developed for rock and soil. On a layout history site, research notes show your craftsmanship and help visitors learn, not just admire.
- Town profile template: location, purpose, main industries, signature scenic features.
- Industry card template: inbound, outbound, car spots, switch moves, special rules.
- Scenery research folder: prototype photos, geology notes, tree species, seasonal palette.
- Explain why roads and rivers go where they do, terrain logic makes scenes believable.
- Document signature scenic scenes, like a mountain cut, a trestle, or a river gorge.
9. Publish “operating paperwork” and preserve sessions as railroad history
Operations are where your railroad’s story becomes real. Documentation that supports operations also doubles as layout history. Think about what a real railroad would produce, then adapt it for N scale. Timetables, train symbols, switch lists, yard plans, and special instructions are all storytelling tools. They also make your layout more fun to run, because crews understand their role in the bigger system.
Start with a simple operating guide that explains the layout in a few pages. Include track names, staging rules, train priorities, and any mountain grade rules like helper assignments, maximum tonnage, and speed restrictions through tunnels or across bridges. Add a dispatcher sheet if you run one, or a simplified meet schedule if you do not. If you run car cards and waybills, document how you cycle waybills, how often industries ship, and what “day” your session represents.
Then preserve each operating session as an entry in your layout history. Record date, crews, trains run, notable delays, derailments, and what changes you want to make. Over time, your op session archive becomes a history of your railroad’s evolution. It also helps you tune the layout for reliability and better traffic flow.
- Create train symbols and a basic timetable, even if it is informal.
- Write special instructions, mountain grades, helper districts, and speed zones.
- Archive switch lists or waybills from memorable sessions.
- Keep a session log: what worked, what failed, what needs adjustment.
- Photograph or video one moment per session to preserve the “railroad at work” feel.
10. Build a public facing archive, pages, categories, and a long term backup plan
Documentation only becomes true layout history when it is organized and preserved. Whether you publish to a website, keep a private digital binder, or both, the key is an archive structure that makes it easy to find things years later. A great layout history site reads like a museum exhibit, visitors can follow the railroad from concept to completion, then explore details like wiring, trackwork, and scenery techniques.
Organize content by both time and topic. A time based “build log” is engaging, and a topic based index is practical. For example, visitors may want to jump directly to DCC wiring, decoder installs, custom track building, or mountain scenery techniques. If your brand is Mountain and Valley N Scale Railroad, feature category pages that reinforce that specialty, mountain grades, valley towns, bridges and tunnels, and realistic operations through rugged terrain.
Finally, have a backup plan. Layout history is hard won. A hard drive crash should not be able to erase years of photos, notes, and videos. Follow the 3 2 1 rule: three copies, on two different media types, with one copy offsite. Use cloud storage plus a local drive. Export your site periodically if you can. Keep original photos and videos, not just resized versions.
- Build an archive structure: Build Log, Track, Wiring, Scenery, Operations, Roster, Research.
- Create a “start here” page with your origin story, timeline, and a layout overview map.
- Add consistent captions: what scene is shown, what changed, and what technique was used.
- Use tags and search friendly titles so future you can find anything fast.
- Back up everything regularly, including raw media, documents, and site exports.
Putting it all together, a practical starter plan
If you want momentum, start small and build habits. Write your origin story this week. Next, draw a master schematic and do a baseline photo walk. Then add one new documentation item every time you complete a milestone. Over a year, you will have a complete layout history that is useful, inspiring, and easy to share.
- Week 1: Origin story, era, region, and traffic list.
- Week 2: Master schematic, town list, and basic industry cards.
- Week 3: Photo baseline, repeatable viewpoints, folder naming system.
- Week 4: Decision log template and first entries, track and wiring standards.
- Month 2 and beyond: Session logs, roster pages, annual tour video, and backups.
Conclusion
Telling the story of your railroad is not extra work, it is part of the craft. A well documented N scale layout becomes easier to improve, easier to operate, and more meaningful to share. Whether your focus is custom track and scenery building, DCC wiring and decoder installation, or capturing the charm of mountain passes and valley towns, strong layout history ties it all together into a coherent railroad that feels real. Start with one idea, keep it consistent, and your railroad will gain something many layouts never achieve, a real sense of history.